
Disclaimer: This post contains affiliate links. If you click and buy, we may make a commission at no additional charge to you. Please see our affiliate disclosure for more details.
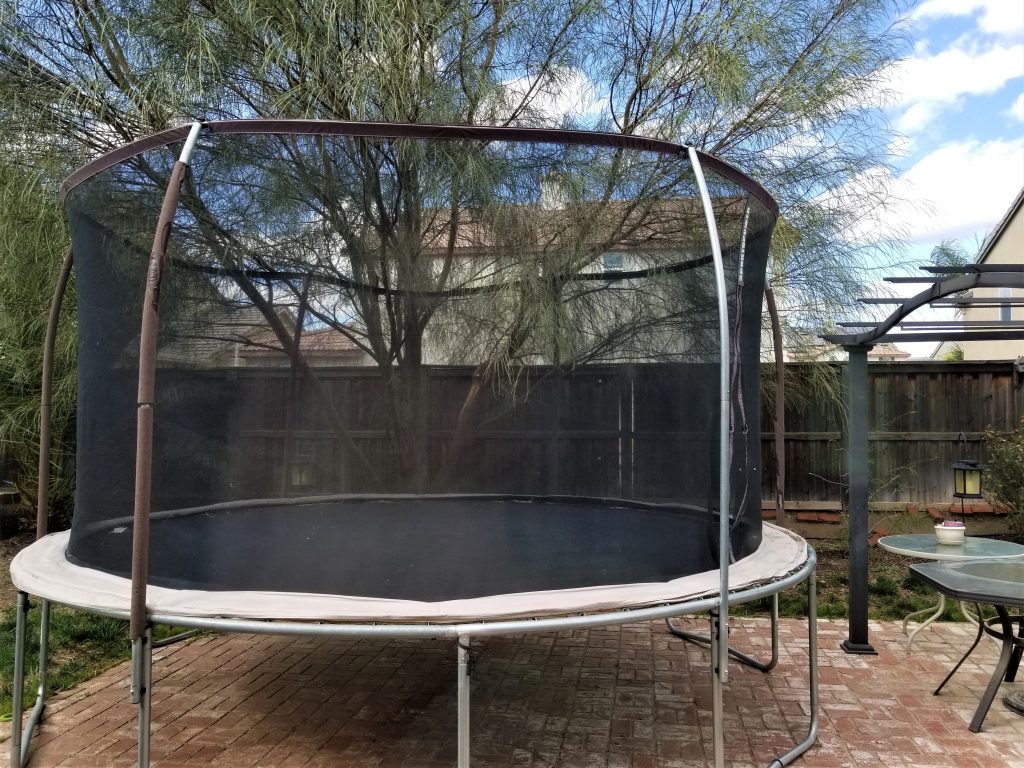
It’s that time of year again – the leaves are changing color, the days are getting shorter, and winter is on its way! If you have a trampoline in your backyard, now is the time to start preparing it for the cold weather.
Many trampoline owners have no idea what steps should be taken for the winter season. So, in this blog post, we will discuss how to winterize a trampoline. In other words, we will share some winter care tips so that your trampoline stays safe and in good condition all season long. Follow these tips, and you’ll be able to enjoy many winters of safe trampoline play!
What is Trampoline Winterization?

Winterization is the process of preparing your trampoline for winter weather. This generally includes covering the trampoline and making sure that all the parts are in good working order. By taking the time to winterize your trampoline, you can extend its life and ensure that it is safe to use all winter long.
When you know what you have to do, winterizing the trampoline is not a difficult process. Trampoline winterization will take several hours to complete; it is best to complete the process on a day when you will be able to spend time outside in the cold!
Will snow break my trampoline?
Many people might ask, will snow ruin or break my trampoline? The answer is NO; snow will not break your trampoline! Trampolines are built to withstand all kinds of weather conditions, including snow and heavy winds. However, we recommend taking a few precautions to ensure that your trampoline is safe for use during the winter months.
How to Winterize Your Trampoline
In this post, we will share 4 methods to winterize your trampoline.
The first thing we will do when disassembling the trampoline is cleaning.
The second thing is very obvious and the recommended way. It is by disassembling the trampoline. After disassembling, you should keep it in a dry place.
The third method is putting a tarp over a trampoline.
Laslty, the last way to do trampoline winter care is just by removing the mat for winter.
Those are the methods we will share in this post; let’s go through them in detail.
1. Clean the trampoline First:
Before you do anything on the trampoline, give it a good cleaning. This will help to prevent any mold or mildew from growing over the winter months.
To keep your trampoline clean, wash the mat with a mild soap and water solution, and scrub any dirt or debris from the frame. Use a hose to rinse everything off, and be sure to remove any water that has pooled on the jumping surface of the trampoline. After that, wipe down the entire surface of the trampoline with a damp cloth.
2. Disassembling
When you want to Disassemble a trampoline, there are a few things you need to do. The step-by-step process of how to do this is as follows:
Step 1 – Remove Bolts
The first thing we’re going to do is remove the bolts that hold the upright net. Depending on the trampoline, there could be lot of bolts, so make sure to remove all of them.
Step 2 – Take Down Poles
Now, you’ll have to take down the poles. The poles hold the trampoline net. After taking down all the poles, you can get access to the safety pad.
Step 3 – Remove Pad Springs
Now you will have to remove the springs that hold the jump pad.
Step 4 – Fold Safety Pad
Next, you have to fold the safety pad.
Step 5 – Wrap Safety Pad
Using plastic wrap, or something like this, we’ll wrap the jumping pad and secure it tight so that we can store it for the winter.
Step 6 – Disassemble Polls
Next, we’re going to disassemble the poles by using a Philips screw that holds the enclosure netting upright. As you are doing this, you should be sorting the poles. It’ll make it easier for you when it comes time to store them.
Step 7 – Remove Springs
Now we’re gonna remove every other spring all the way around, and once we have that, we’ll go back through and remove all but six or twelve to paint on how big your trampoline is. Leave a couple of springs.
Now we’re going to collect the springs, which will take the weight off the trampoline. This way we can continue removing more Springs. The goal here is to get it down to four individual Springs that are holding up the trampoline and safety netting together.
Step 8 – Fold Net
At this point we can detach the net from those four Springs. This will allow us to fold the net.
Step 9 – Wrap Net
Once we have the net folded we can go ahead and use a plastic wrap[amz] to wrap the net as well.
Step 10 – Fold Trampoline
Now we’ll start to begin folding the trampoline.
Step 11 – Wrap Trampoline
Once it’s folded we’ll wrap the trampoline as well with a plastic wrap.
Step 12 – Box Springs & Bolts
We can now box up the rest of the springs and bolts together. Use a ziplock plastic bag for the bolts and nuts; and he springs can sit inside the box.
Step 13 – Disassemble Frame
Now we can go ahead and disassemble the rest of the frame. Sort this as you go.
Step 14 – Wrap Polls
Once you have all the pieces disassembled and sorted, you can wrap the straight poles together. This will help with storage, depending on how you store your trampoline.
After dissembling properly, you should keep all the trampoline parts in a safe place.
There it is. That’s how you can disassemble a trampoline for winter.
3. Putting a tarp or Weather cover
If you do not want to dissemble a trampoline you can put a weather cover in your trampoline. You can do it by purchasing a tarp.
Tarps and trampoline covers are basically almost the same things. You can purchase a tarp or trampoline cover designed specifically for trampolines, or you can use a heavy-duty plastic tarp. If you choose the latter one, make sure it is big enough to drape over the entire trampoline and extend a few feet past the perimeter. Attach the tarp to the trampoline frame pads with bungee cords or heavy-duty straps, and make sure it is securely fastened. This will help to protect the trampoline jumping mat and springs from the snow.
However, you should keep a few things in mind while doing this:
Clean the leaves and dirt that accumulate on the trampoline’s surface on a regular basis. The moisture produced by the leaves causes damage to the mat. The presence of algae (green or black stuff) in your trampoline can also be a result of this condition.
If heavy snow accumulates on top of the trampoline, use a soft bristle brush to brush it out of the trampoline.
When clearing accumulated snow from your trampoline, avoid using snow shovels or blowers. The shovel has the potential to scratch or tear the surface. The snow blower, on the other hand, is heated and will cause irreversible damage to your mat.
After putting a tarp you will have to keep your eye on trampoline, because it is outside of your house.
4. Removing only the mat for Winter

This is the most basic form of winterizing your trampoline and will only require you to remove the jump mat.
You’ll want springs that are galvanized on both the inside and the outside if possible. These types of springs prevent rust from forming and keep the trampoline protected from the harsh winter weather conditions.
The method is only recommended method if your frame and springs are in good condition.
What could happen if you leave your trampoline out in the Winter?
Nothing will happen if you leave your trampoline out in the winter.
When using a trampoline in winter conditions, make sure it is made of a sturdy material so the trampoline springs do not become rusted. Rusted Springs will affect the bounce.
If you don’t properly anchor your structure during hurricanes or high winds, it could be blown away and can be a safety hazard. So, you should anchor it for your own safety.
Depending on how much snow accumulates on the mat and how well you maintain the mat’s surface cleanliness, the weight of the snow could exceed the recommended weight capacity and cause the mat and the springs to be stretched out of shape.
FAQs – How to Winterize Your Trampoline for
Q: What is the best way to winterize my trampoline?
A: The best way to winterize your trampoline is to take it down and store it in a dry, sheltered place.
Q: How often should I check my trampoline for damage?
A: If you have kept your trampoline outside, you should check your trampoline for damage at least once a week.
Q: What are some common signs of trampoline damage?
A: Common signs of trampoline damage include rust on the frame, tears in the mat, and missing or broken springs.
Q: What should I do if I find damage on my trampoline?
A: If you find damage on your trampoline, you should repair it immediately. Small tears can be repaired with duct tape, and missing or broken springs can be replaced.
Q: Should I anchor my trampoline in winter?
A: Yes, you should anchor your trampoline in winter to prevent it from being blown away by strong winds. You can buy specialized anchor kits for this.
Q: Will trampoline break in the cold?
A: No, most trampolines will not break in the cold. However, the metal parts of the trampoline may become brittle and more susceptible to breaking. Always make sure that your trampoline is in good condition before leaving out outside.
Q: Can you jump on a trampoline in the winter?
A: Yes, you can jump on a trampoline in winter. However, you should not jump on a wet trampoline. It has the potential to injure you. Make sure to remove all the snow and water before jumping.
Conclusion
So there you have it, a simple guide to winterizing your trampoline. This process is not a time-consuming process as long as you know how to do it properly. All you need is a few basic supplies to the process, and your trampoline will be ready to go for many winters to come.
We hope you’ve learned a thing or two about how to winterize your trampoline. If you have any further questions or comments, please don’t hesitate to leave them in the box below, we would love to hear from you!

- 8 Best Mini Trampoline For Seniors | Detailed Review - May 11, 2023
- What is the Best Outdoor Trampoline For Adults? - May 10, 2023
- How To Keep Trampoline From Blowing Away (Best Way To Anchor A Trampoline) - May 9, 2023