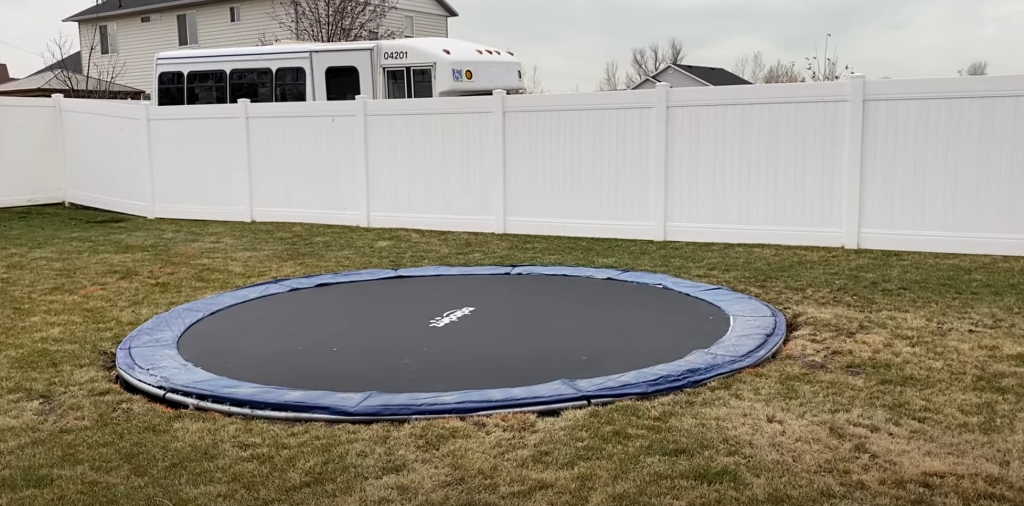
Installing an in-ground trampoline is a great way to get some exercise and have fun with your family and friends. However, there are some things you need to consider before you start digging.
In this post, we’ll go over the basics of installing an in-ground trampoline and what you need to know before getting started. Without further a do, let’s get started.
Things to consider before Installing an in ground trampoline

Before you can start installing in ground trampoline, there are a few things you need to take into consideration. The first is the size of the trampoline.
Make sure you measure the area where you want to install the trampoline and compare it to the size of the trampoline you’re considering. You also need to make sure the area is level. If it’s not, you may need to do some excavating to level it out.
Another thing to consider is the type of ground you have. If you have grass, you’ll need to make sure it’s thick and healthy enough to support the trampoline. If you have bare ground, you’ll need to make sure it’s compacted and level. If you have sand, you’ll need to make sure it’s deep enough.
You will also have to set up drainage around the area you want to install your own trampoline. There will be time when your backyard will be watered for rain. If the water drains towards the trampoline, you may need to create a drainage ditch to redirect the water.
Once you’ve taken all of these things into consideration, you’re ready to start installing your in ground trampoline.
Install an in-ground Trampoline

Here is the step by step guide for installing an in-ground trampoline.
1. Determine where you want to have the Trampoline
When determining the trampoline area, you will want to consider the size of the trampoline, as well as the surrounding space. You will also need to think about things like power lines and other potential hazards that could be present.
Next, you need to mark the area where the trampoline will go. Once you have determined the size and location of the trampoline, you will need to mark out the area with string or flags. This will help you to ensure that the trampoline is installed in the correct location.
2. Set Up the Frame
You will want to set up your trampoline frame in the area you have selected. If you have a large trampoline, you may want to enlist the help of a friend or family member to hold one side while you do this.
Once you have your frame built and an area marked off, you can begin taking off some of the turf so that you can use it to backfill later. You don’t need to save all of the turf, just enough to cover your tracks.
3. Start Digging the Hole

The next step is to start digging the hole. It is important to make sure that the hole is big enough for the trampoline. The width of the trampoline hole should be a little bigger than the width of the trampoline.
The depth of the trampoline hole should be good enough where it will cause no problem in jumping.
4. Install weed membrane
The membrane can be laid down after you’ve determined that the frame will fit properly in the space. Lower the frame into the hole once it has been completed and move on to the next step.
5. Place the trampoline frame and Attach wall panels
After you’ve finished digging your hole, it’s time to finish putting the frame together. In order to accomplish this, you will need to screw the retaining walls together with a screwdriver.
You should already have holes drilled in the retaining walls for the screws, so all you have to do now is line them up and begin screwing them in place.
It is preferable, to begin with the top holes and then work your way down to the bottom holes to complete the attachment process.
After you’ve completed this step, insert the frame into the hole and place it on the shelf to ensure that it fits properly on the shelf. It is possible to proceed if the item fits correctly; otherwise, it will be necessary to make some adjustments.
In this step, you will also have to attach wall panels around the trampoline’s frame.
6. Insert Mat into the trampoline
After putting the frame on the ground, you will want to take the trampoline mat and insert it into the frame. You will want to make sure that you put the mat correctly so that it does not come out while you are jumping.
7. Attach Springs

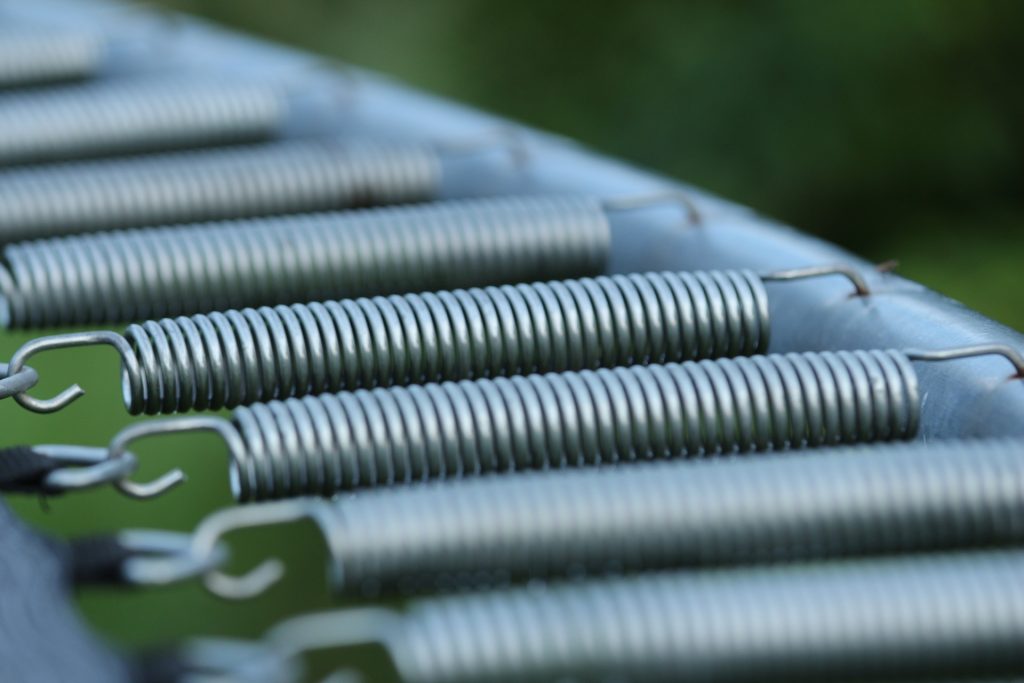
Once the frame and mat have been inserted into the hole, you can begin to attach the springs. You should start with the four corners or the middle of the sides of a rectangle trampoline when installing it, and then work your way outwards from there. If you work with someone who is diametrically opposed to you, it will be easier because the tension will be balanced.
Once you’ve installed the springs, you’ll notice that the frame has shifted quite a bit closer to the seat. At this point, you’ll want to take your trampoline for a short test run, jumping up and down on the mat to ensure that everything is secure.
8. Attach the Pads
After putting the whole frame, mat, and springs, it’s time to attach the pads. It should be very easy. Just put the pads over the trampoline to make your jumping more secure.
9. Backfill & Re-turf
If everything appears to be in working order, you can begin backfilling the space between the outer side of the retaining wall and the surrounding ground. Make an effort not to get any sandy soil inside the bowl area. As soon as you’re finished, pack it down as tightly as possible and re-turf it with some of the turfs you saved.
After doing these steps, your in-ground trampoline is ready. You can start to jump right away. Here is a timelapse video you can see to get an idea about the process:
Maintenance tips for in ground trampolines in paragraphs
As you enjoy your in-ground trampoline, there are a few things you can do to ensure that it lasts for many years to come.
First, be sure to regularly check the condition of your trampoline’s frame and mat. If you see any rust or damage, be sure to sand and repaint the affected areas as soon as possible.
Second, always use a safety net around your trampoline. This will help prevent any serious injuries if someone falls off.
Also, be sure to check the condition of the ground around your trampoline regularly. If you see any sinkholes or other damage, fill them in and level off the area around your trampoline.
Plan to keep water out of the ground when it rains:
If your soil drains slowly, you can dig a trench under the trampoline to hold the water for a period of time (until it dries out) while the water slowly evaporates. Make sure that this does not create an imbalance in the trampoline’s existing structure.
You can also fill a trench with gravel (stones that absorb water quickly) to absorb water as quickly as possible.
Finally, enjoy your in-ground trampoline! With proper care and maintenance, it will provide you with years of fun.
Advantages of inground Trampoline
There are also some advantages to having an inground trampoline. One is that they are less likely to be damaged in strong winds as they are anchored into the ground.
Another advantage is that they can be used all year round, even in winter when there is snow on the ground.

When you bury an inground trampoline in the ground, it becomes nearly invisible in your yard. You don’t have to look at it every day, and neither do your neighbors. It also becomes much safer because there is no way for kids to fall off of it.
Installing an inground trampoline is a great way to ensure that your family can enjoy years of safe fun.
Disadvantages of inground Trampoline
The biggest disadvantage of an inground trampoline is the price. They are significantly more expensive than an above ground trampoline, which might make them unaffordable for some people.
Another disadvantage is that they are not portable as above ground trampolines. So, if you move your house, you will need to leave the trampoline behind or have to pay to have it moved.
FAQs – How To Bury A Trampoline

Q: Are In-Ground Trampolines Safer?
A: Yes, they are. When a trampoline is installed in the ground, it becomes a part of your landscaping. The edge of the trampoline will be level with the ground, making it less likely for a child to fall off.
Q: How Much Does It Cost To Put A normal Trampoline In The Ground?
A: The cost of putting an entire trampoline on the ground varies depending on the size and type of trampoline you have. Generally, it will cost between $200 and $500.
Q: Are In Ground Trampolines Better?
A: Yes, they are. In-ground trampolines are safer and last longer. They are also less likely to be damaged in high winds.
Q: Can I use an in-ground trampoline in the winter?
A: Yes, you can. In fact, many people use their in-ground trampolines year-round. Just be sure to cover it with a tarp when it’s not in use. And always clean the snow from the trampoline surface before jumping. You don’t want to get injured by jumping on a wet trampoline.
Q: How long does it take to install an in-ground trampoline?
A: On average, It usually takes four hours to infinity to install an in-ground trampoline. There is no rule to this thing. You must call a professional if you want this to be done quickly.
Q: Can I make an inground trampoline by myself?
A: Yes, you can. But we don’t recommend it. If you are not experienced in this field, it is better to ask for professional help. They will help you to avoid any mistakes and ensure the quality of your trampoline.
Q: Who can install an in-ground trampoline for me?
A: Many companies offer this service. You can find them by searching for “In-ground trampoline installation [Your City Name]” on the internet. Or you can ask your local trampoline store for a recommendation.
Conclusion
Trampolines are so much fun. While you can install a trampoline yourself, we highly recommend hiring a professional installer. It’s not worth the risk of hurting yourself and wasting your time to save a little money. Only start digging by yourself when you have experience doing it.
Once you’ve installed your trampoline, it’s time to show it off! Your friends and family will love spending time on your new trampoline. And lastly, with a little care and maintenance, your in-ground trampoline will last intact for years to come.
- 8 Best Mini Trampoline For Seniors | Detailed Review - May 11, 2023
- What is the Best Outdoor Trampoline For Adults? - May 10, 2023
- How To Keep Trampoline From Blowing Away (Best Way To Anchor A Trampoline) - May 9, 2023

